How to lower the cost of installing a heat pump
Heat pump installation is not an easy task, nor should it be. The more complicated the installation, the more expensive the cost of fixing any problem that may arise down the line. This guide will provide you with a basic understanding on how to install your own heat pump system.
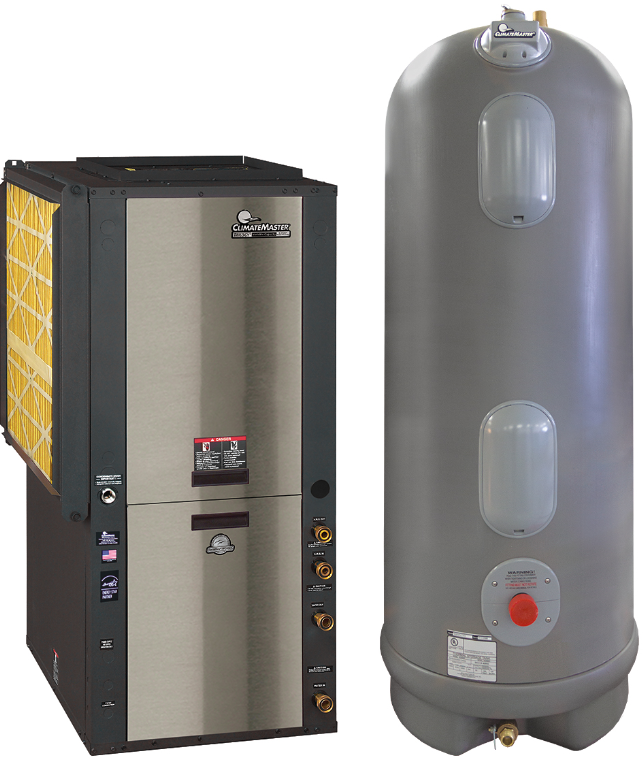
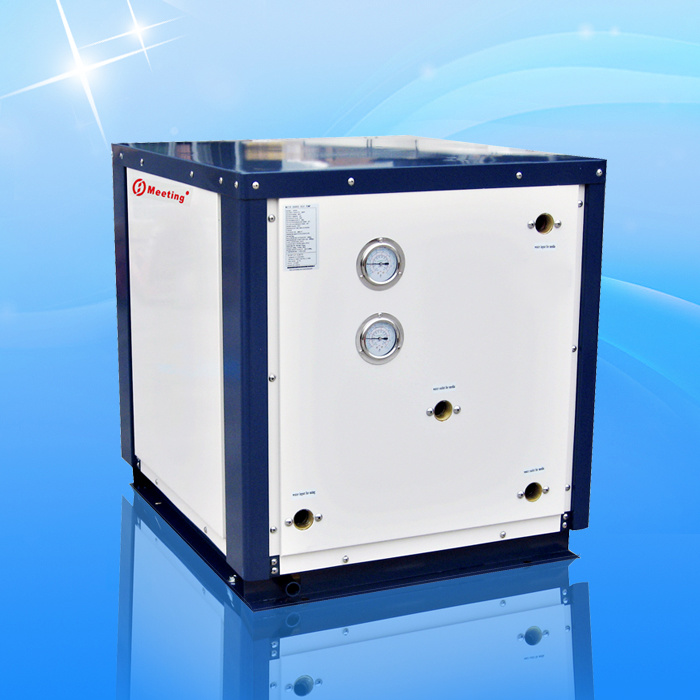
One can install heat pumps themselves after making a purchase. It will save money in the installation process if the unit is already mounted in its location when the certified technician comes to install it. This part is not technical and does not require a permit. The outdoor and indoor main units of the heat pump make up the entire system. The indoor unit can be mounted on a wall bracket or a wall stand while the outdoor unit is set up outside to demonstrate how soojuspumba paigaldus (heat pump installation) costs can be reduced.
1) Get a good idea of where you want the unit installed in your home before calling for service. If you are unsure of what areas to look at first and are unsure of how much space is available in your home then we would recommend calling us or one of our local Heat Pump specialists. We can give you a free consultation and answer all of your questions so that you have peace of mind when going into the process of purchasing a heating and cooling system.
2) Once you have a good idea of where you want the unit installed we can discuss the best options available for your situation. There are many different types of units available on the market today each offering their own set of advantages and disadvantages. Some common examples include:
- Split Air Conditioning Units
These systems split the air conditioner between two rooms that you want cooled; the other room being heated by either the same unit or another unit. These types of units offer great flexibility as they allow you to choose which rooms need cooling and which ones need heating.
- Whole House Cooling Unit
This type of unit offers the ability to cool both the inside and outside of a house without having to make changes to the home’s construction. When comparing these types of units to traditional refrigeration systems, whole house units tend to require less energy to cool a home. Whole house units also come in several sizes allowing you to choose just the right size for your needs.
3) Next, we will discuss the various components of the system that you will need to purchase. While there are some items included in every system, there are also a few additional features that you may want to consider depending upon your specific circumstances. For example, if you live in a cold climate you might decide to go with a whole house unit or a smaller split AC unit.
4) The compressor is the heart of a heat pump. This component uses electricity to compress the gas inside the unit. It then delivers this compressed gas through a pipe to the condenser coil. The condenser coils are made from copper or aluminum and help transfer the heat from the gas to the surrounding air. From here the cooled air is ducted throughout the home.
5) After the chilled air leaves the condenser coil, it travels to the fan coil unit (FCU). The FCU is essentially a radiator that transfers heat to the incoming air. This air flows back to the evaporator coil and absorbs heat from the incoming air. The heat absorbed by the air is then used to warm the incoming air. The warmed air then goes around the home again until it reaches its destination.
6) The Heat Pump itself has two parts: the indoor coil and the outdoor coil. The indoor coil is placed on top of the furnace and is responsible for drawing the warm air out of the home. The outdoor coil is located outside the home and draws in the cooler air from the outdoors. The two coils are connected together using a tubing called the indoor/outdoor header.
7) The blower motor is the power source for both the indoor and outdoor coils. It turns on and off based on whether the unit is in operation or not. The blower motor is powered by an inverter that converts DC power to AC. Inverters are necessary because most homes do not have enough electrical voltage to operate a blower motor directly. Most heat pumps use 240VAC but some newer models use only 115VAC. Be sure to check with your manufacturer regarding requirements.
8) The thermostat controls the operation of the unit. It usually comes with a remote control and can be programmed to turn the unit on and off during certain times of the day. You can program the unit to automatically turn the unit on when the temperature drops below a certain point. You can also control the amount of time that the unit runs for each cycle of operation.
9) Finally, you will need to purchase a drain pan to catch the water that is produced while operating the system. This water is usually disposed of responsibly so it is not harmful. However, it is important to remember that even though the water is safe to dispose of, it still contains minerals from the soil that can cause rust and corrosion over time.
10) After you have purchased all of the equipment needed to begin your project, you will next need to determine exactly where to install the devices. Depending on the location of the unit you will need to consider things such as:
- How close to the exterior walls of the home?
- Are the walls insulated?
- Do you plan to insulate the attic?
- Will the unit be in direct contact with plumbing or wiring?
11) You will also need to determine whether you will be able to move the pipes or run them under the floor. Determining the best route for the pipes will depend on the exact layout of your home and the location of the existing piping.
12) Now that you have determined the best place to install your new unit, you will need to start building the foundation. You will need to dig down approximately 6 feet deep to ensure that the frost line is covered and that the pipes cannot freeze.
13) Once you have completed your digging, you will need to lay down insulation panels and then begin pouring concrete. These steps serve as the base for your unit.
14) Before you pour the concrete, you will need to cover the exposed concrete with plastic sheeting. As long as the plastic is up tight you should have no issues with leaks later on.
15) Once the concrete dries, you will need to attach the drain pan and drain hose to the unit.
16) Next, you will need to connect the unit to the appropriate electrical outlet.
17) Once everything is wired properly, you can begin filling the basement with drywall and leveling the surface.
18) Once the interior walls of the home are finished, you can begin adding the cabinets and shelves. You can purchase or build cabinets to store your electronics, appliances and books.
19) Lastly, you will need to finish painting the walls and ceiling.
20) At this point, your home is complete and ready to be enjoyed!
21) This entire process takes about a week or two to complete and requires several trips to your local hardware store to pick up supplies. All in all, it can be quite exciting and rewarding to finally see your dream home come to life.